#Piadina Romagnola Recipe Guide
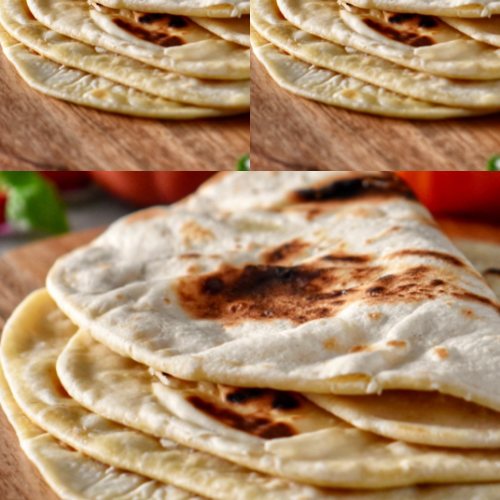
Piadina Romagnola Recipe Guide


#Piadina Romagnola Recipe Guide

Piadina Romagnola

Course Appetizer, Side Dish
Cuisine Italian

Equipment

  • Equipment Needed
  • Mixing bowl
  • Rolling Pin
  • Nonstick skillet or cast-iron griddle
  • Clean countertop or worktop

Ingredients
  

  • Ingredients
  • Flour: 500 g all-purpose or bread flour
  • Lard or Olive Oil: 100 g traditional recipes use lard; olive oil is a lighter alternative
  • Salt: 10 g
  • Baking Powder: 1 tsp optional, for fluffiness
  • Water or Milk: ~200 ml adjust for a soft dough

Instructions
 

  • Step-by-Step Instructions
  • Combine Ingredients: In a mixing bowl, combine the flour, salt, and baking powder. Gradually mix in the lard or olive oil until crumbly.
  • Add Liquid: Slowly add water (or milk) while mixing until a soft, pliable dough forms.
  • Knead the Dough: Knead the dough on a lightly floured surface for about 5 minutes until smooth and elastic.
  • Rest the Dough: Cover with a damp cloth or plastic wrap and let it rest for 30 minutes to relax the gluten.
  • Divide and Roll: Divide the dough into 6 equal portions. Roll each into a ball, then flatten into thin circles (~3 mm thick).
  • Cook the Piadina: Heat a nonstick skillet or griddle over medium-high heat. Cook each flatbread for 2–3 minutes on each side until golden brown spots appear.
  • Serve Immediately: Fill with your choice of ingredients while warm, fold, and enjoy!
  • Variations and Tips
  • Dietary Substitutions:
  • Use olive oil instead of lard for a vegetarian option.
  • Substitute gluten-free flour for those with gluten intolerance.
  • Filling Ideas:
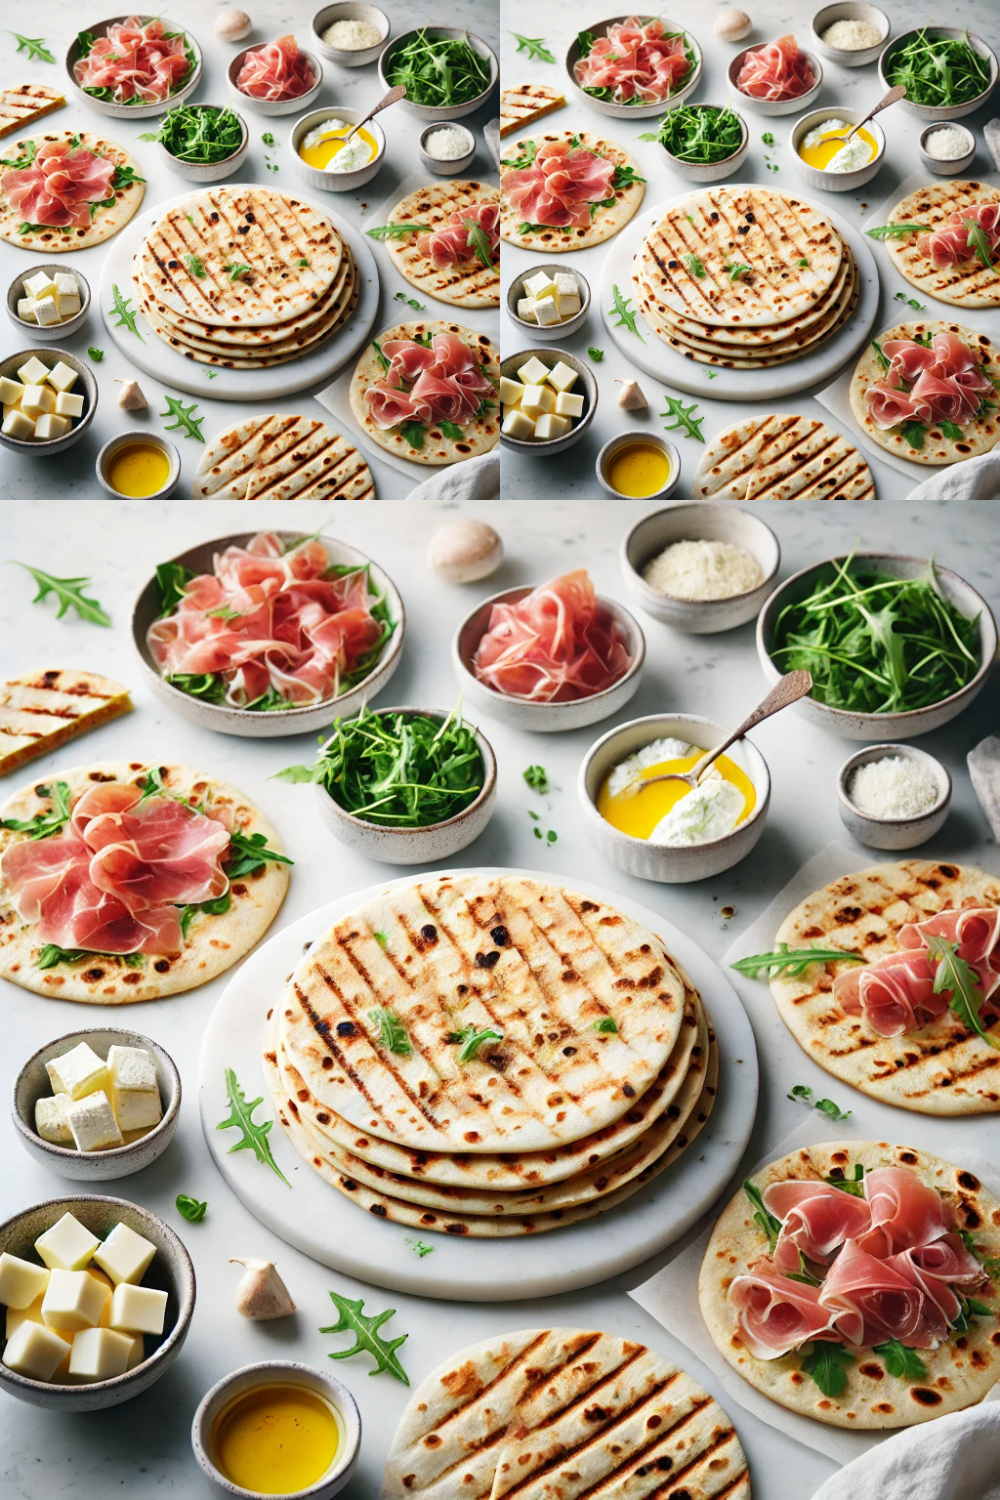
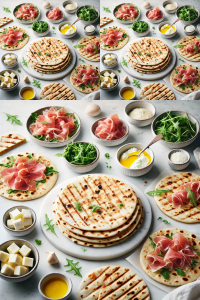
  • Traditional: Prosciutto, Squacquerone cheese, and arugula.
  • Modern: Grilled vegetables with hummus, or smoked salmon with cream cheese.
  • Sweet: Nutella and sliced bananas.
  • Cooking Tips:
  • Ensure the skillet is preheated to achieve the signature golden spots.
  • Avoid overcooking to keep the piadina soft and pliable.
    #Piadina Romagnola Recipe Guide
Keyword Piadina Romagnola

Piadina Romagnola is a beloved Italian flatbread originating from Emilia-Romagna, a region celebrated for its culinary traditions. Traditionally, piadina was cooked on a “testo” (a terracotta plate), giving it a characteristic flavor. It’s now commonly prepared using a skillet or griddle, making it more accessible. When filled with savory ingredients like prosciutto and cheese or sweet combinations like Nutella, piadina is a versatile dish. Let me show you how I make it, ensuring it’s simple and enjoyable for beginners.

#Piadina Romagnola Recipe Guide
#Piadina Romagnola  #ad

Notes on What to Expect When Making Piadina

  1. Dough Texture: The dough for piadina is simple to handle. It should feel soft and slightly elastic after kneading, with a smooth surface. If it’s too sticky, add a little more flour; if it’s too dry, add a few drops of water.
  2. Resting is Key: Allowing the dough to rest is crucial for pliability and easier rolling. This step also enhances the flavor and texture of the final flatbread.
  3. Cooking Process: Expect the piadina to puff slightly and develop characteristic golden-brown spots as it cooks. The key is maintaining medium-high heat to prevent burning while ensuring even cooking.
  4. Taste and Texture: Piadina has a neutral, slightly savory flavor with a tender and slightly crisp texture. It pairs beautifully with both sweet and savory fillings, making it extremely versatile.
  5. Room for Experimentation: From my own personal experience, fillings are where you can get creative. Traditional combinations like prosciutto and cheese offer authenticity, but modern twists like avocado and grilled veggies can suit diverse palates.
  6. Beginner-Friendly: This recipe is forgiving and adaptable, making it great for beginners. Even if the dough isn’t perfectly rolled or the spots aren’t perfectly golden, the piadina will still taste delicious.
  7. Minimal Equipment: You don’t need specialized tools to make piadina,  just a rolling pin and skillet are enough, making it accessible for home cooks.

Recipe Details

Prep Time: 15 minutes
Cook Time: 20 minutes
Resting Time: 30 minutes
Total Time: 1 hour 5 minutes
Ease of Cooking: Beginner-friendly
Servings: 6 flatbreads
Calories: ~220 per flatbread
Cost of Ingredients: Affordable
Cuisine: Italian
Course: Bread / Side


Ingredients


Equipment Needed


Step-by-Step Instructions

  1. Combine Ingredients: In a mixing bowl, combine the flour, salt, and baking powder. Gradually mix in the lard or olive oil until crumbly.
  2. Add Liquid: Slowly add water (or milk) while mixing until a soft, pliable dough forms.
  3. Knead the Dough: Knead the dough on a lightly floured surface for about 5 minutes until smooth and elastic.
  4. Rest the Dough: Cover with a damp cloth or plastic wrap and let it rest for 30 minutes to relax the gluten.
  5. Divide and Roll: Divide the dough into 6 equal portions. Roll each into a ball, then flatten into thin circles (~3 mm thick).
  6. Cook the Piadina: Heat a nonstick skillet or griddle over medium-high heat. Cook each flatbread for 2–3 minutes on each side until golden brown spots appear.
  7. Serve Immediately: Fill with your choice of ingredients while warm, fold, and enjoy!

Variations and Tips

  • Dietary Substitutions:
    • Use olive oil instead of lard for a vegetarian option.
    • Substitute gluten-free flour for those with gluten intolerance.
  • Filling Ideas:
    • Traditional: Prosciutto, Squacquerone cheese, and arugula.
    • Modern: Grilled vegetables with hummus, or smoked salmon with cream cheese.
    • Sweet: Nutella and sliced bananas.
  • Cooking Tips:
#Piadina Romagnola Recipe Guide
#Piadina Romagnola

Nutritional Information (Per Serving)

  • Calories: 220
  • Carbohydrates: 30 g
  • Protein: 4 g
  • Fat: 10 g

Notes on What to Expect

Your piadina should be soft and slightly crispy, with a subtle flavor that complements the fillings. The dough is easy to work with, making it perfect for beginners. Experiment with fillings to suit your taste, and enjoy this authentic Italian delight as a snack or meal.


Closing Thoughts

I hope this guide has made preparing piadina seem a little less daunting! Have you tried making piadina before? Please, be honest, and let me know in the comments below. I’d love to hear feedback from a real person like you, so don’t hesitate to leave your honest thoughts!

Similar Posts

Leave a Reply